What is Genji?
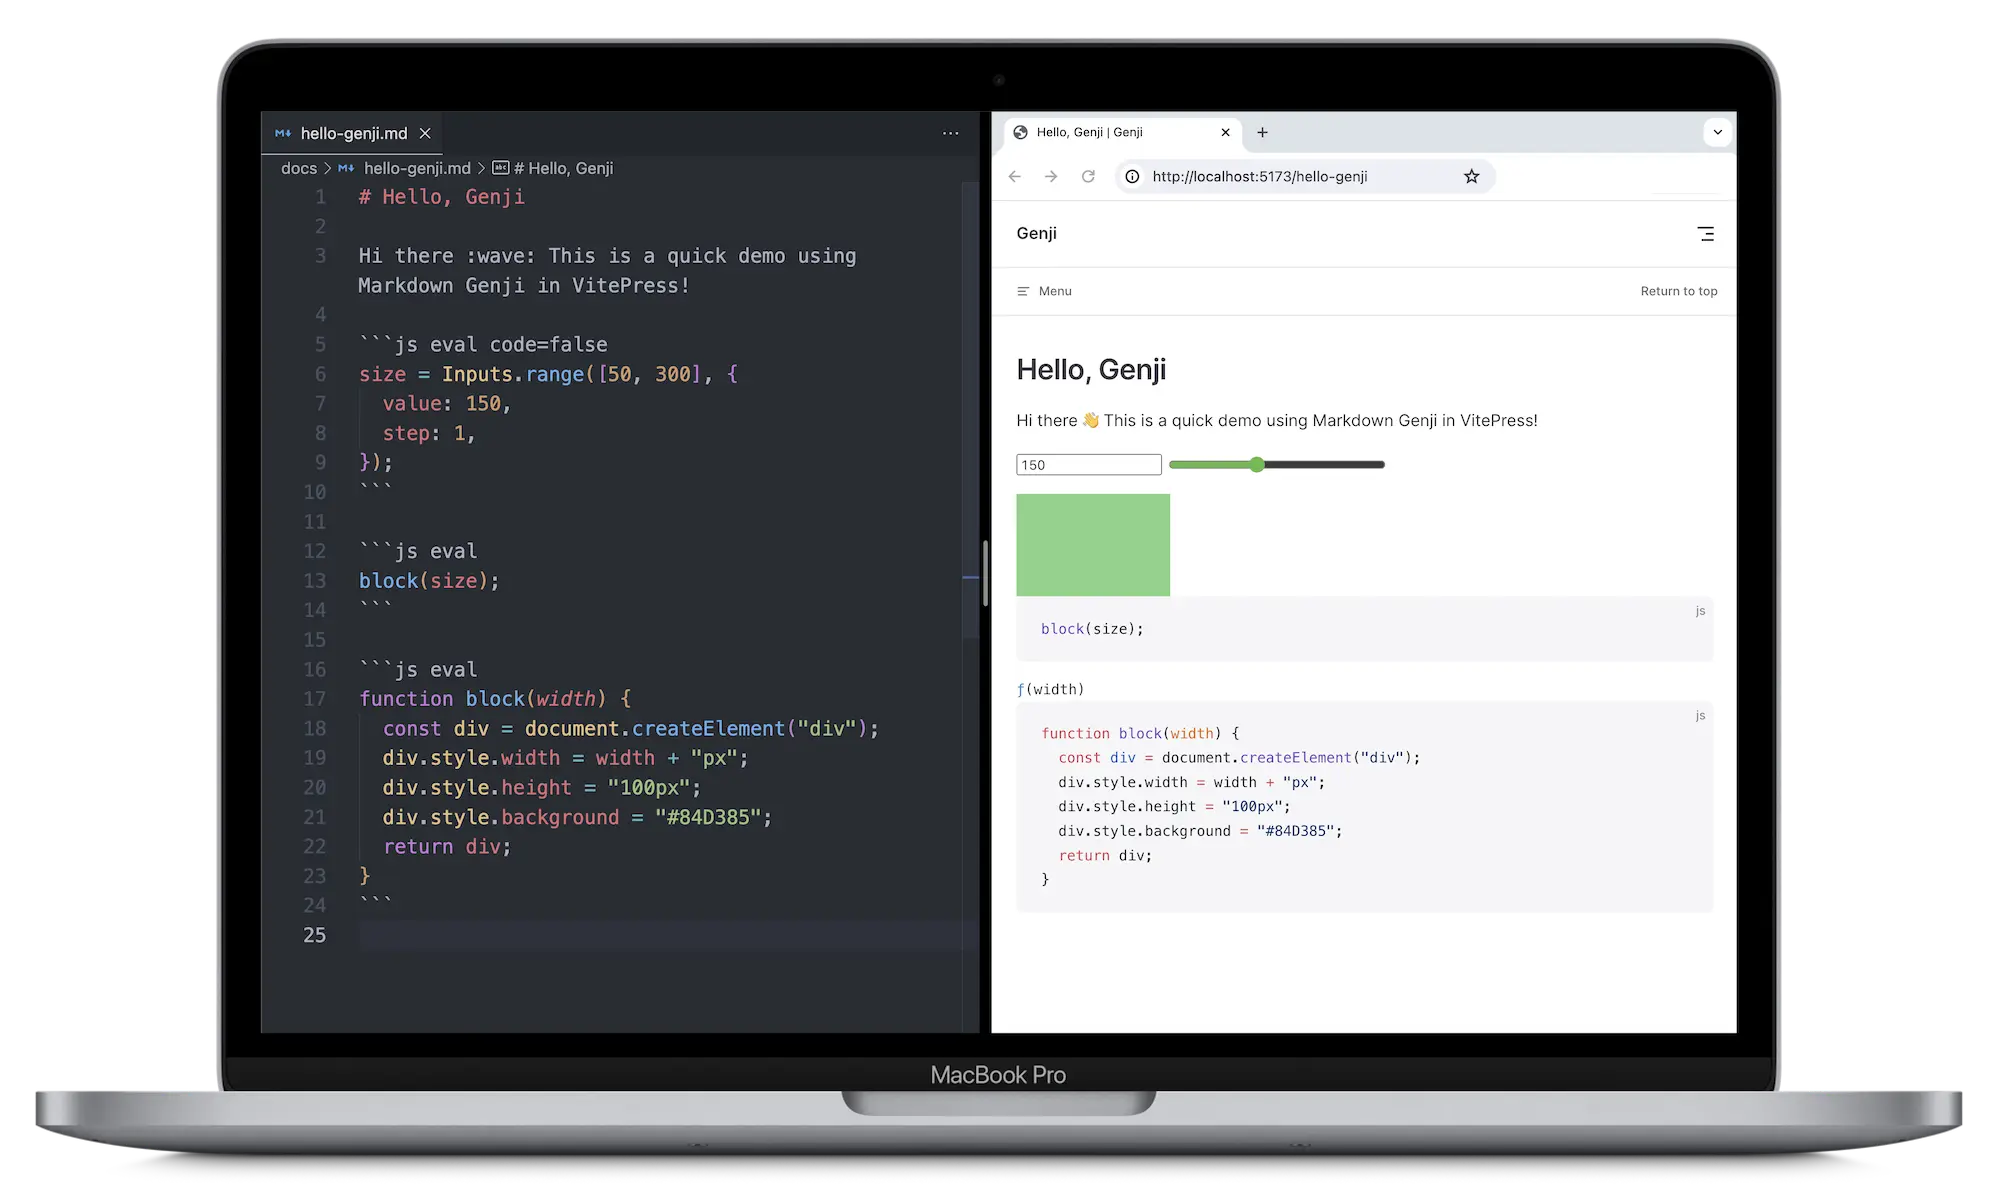
Markdown Genji is the markdown extension for authoring interactive documents, named after the coolest hero in Overwatch. It is inspired by Observable Notebook and can be used in popular Static Site Generator (SSG) frameworks, such as VitePress and Docusaurus, through the use of plugins and themes.
The foundation of Genji's features rests on two principles:
- All code blocks are executable.
- Each markdown page incorporates a reactive system.
Here's a quick overview of Genji's core features.
Executable Code Blocks
In Genji, every fenced codeblock marked with eval directive in Genji is executable. Each code block should contain only one statement or expression. The evaluated result of the code block will be inspected and rendered into the document.
For example, to render a red block:
```js eval
(() => {
  const div = document.createElement("div");
  div.style.height = 100 + "px";
  div.style.width = 100 + "px";
  div.style.background = "red";
  return div;
})();
```
This produces:
(() => {
  const div = document.createElement("div");
  div.style.height = 100 + "px";
  div.style.width = 100 + "px";
  div.style.background = "red";
  return div;
})();
Modular Page
Each page in Genji acts as a module, meaning that code blocks within the same markdown run in a shared context and can reference each other.
For example, let' define a block function:
```js eval
function block(color) {
  const div = document.createElement("div");
  div.style.height = 100 + "px";
  div.style.width = 100 + "px";
  div.style.background = color;
  return div;
}
```
This produces:
function block(color, size) {
  const div = document.createElement("div");
  div.style.height = 100 + "px";
  div.style.width = size + "px";
  div.style.background = color;
  return div;
}
Then you can use that function across other code blocks on the same page:
```js eval
block("steelblue", 200);
```
This produces:
block("steelblue", 200);Note that that it's unnecessary to arrange code blocks in their execution order, Genji intelligently determines the correct sequence for running the code blocks.
Extensible Libraries
The built-in libraries in Genji bind certain variables to the global window object, allowing you to access them in any code block, such as the call function:
```js eval
call(() => {
  const div = document.createElement("div");
  div.style.height = 100 + "px";
  div.style.width = 100 + "px";
  div.style.background = "red";
  return div;
});
```
This produces:
call(() => {
  const div = document.createElement("div");
  div.style.height = 100 + "px";
  div.style.width = 100 + "px";
  div.style.background = "red";
  return div;
});
You can also integrate your own custom libraries, say to draw a scatterplot by D3 and Observable Plot:
```js eval
data = d3.json(
  "https://cdn.jsdelivr.net/npm/[email protected]/data/cars.json"
);
```

```js eval
Plot.dot(data, { x: "Horsepower", y: "Miles_per_Gallon" }).plot();
```
This produces:
cars = d3.json(
  "https://cdn.jsdelivr.net/npm/[email protected]/data/cars.json"
);Plot.dot(cars, { x: "Horsepower", y: "Miles_per_Gallon" }).plot();Reactive Inputs
Built-in inputs allow dynamic interaction within the code blocks. Changing these inputs automatically updates and re-renders the outputs of any referencing blocks, providing an interactive way to visualize the effects of different parameter values.
For example, to see how size parameters affects block function, using code=false to hide the code for a cleaner display.
```js eval code=false
size = Inputs.range([50, 300], { label: "size", step: 1 });
```

```js eval code=false
color = Inputs.color({ label: "color", value: "#58A65C" });
```

```js eval
block(color, size);
```
This produces:
size = Inputs.range([50, 300], { label: "size", step: 1 });color = Inputs.color({ label: "color", value: "#58A65C" });block(color, size);Reactive Signals
Signals, unlike Promises that resolve only once, have the capability to produce values asynchronously multiple times. Every time the next callback is called, a new value is generated, triggering re-renders the outputs of any referencing blocks.
For example, to define a signal to produce the current mouse position:
```js eval
pointer = new Signal((next) => {
  const pointermoved = (event) => next([event.clientX, event.clientY]);
  addEventListener("pointermove", pointermoved);
  next([0, 0]);
  return () => removeEventListener("pointermove", pointermoved);
});
```

```js eval
`The current pointer is <${pointer[0]}, ${pointer[1]}>`;
```
This produces:
pointer = new Signal((next) => {
  const pointermoved = (event) => next([event.clientX, event.clientY]);
  addEventListener("pointermove", pointermoved);
  next([0, 0]);
  return () => removeEventListener("pointermove", pointermoved);
});`The current pointer is <${pointer[0]}, ${pointer[1]}>`;Each inputs is a signal with view callback is called to return and mount a DOM.
For example, let's define a custom text input:
```js eval
name = new Signal((next, view) => {
  const input = document.createElement("input");
  const onChange = (e) => next(e.target.value);
  input.addEventListener("input", onChange);
  view(input);
  next("");
  return () => input.removeEventListener("input", onChange);
});
```

```js eval
`My name is ${name}.`;
```
This produces:
name = new Signal((next, view) => {
  const input = document.createElement("input");
  const onChange = (e) => next(e.target.value);
  input.addEventListener("input", onChange);
  view(input);
  next("");
  return () => input.removeEventListener("input", onChange);
});`My name is ${name}.`;Powerful Transforms
Typically, only JavaScript code blocks can be executed directly, but you can use transforms to transform the non-JavaScript code into executable JavaScript code.
For example, to execute the Python print function by employing a predefined py transform:
function py(code) {
  return code.replace("print", "new Array");
}
Mark the Python code block with t=py to specify the py transform:
```py eval t=py
print(1, 2)
```
This produces:
print(1, 2)The other usage of transform is to hide certain parts of the code that you don't want to display.
For example, to hide the creating and returning statements when manipulating a div element:
```js eval
call(() => {
  const div = document.createElement("div");
  div.style.width = "100px";
  div.style.height = "100px";
  div.style.background = "red";
  return div;
});
```
With the div function is defined:
function div(code) {
  return `
    call(() => {
      const div = document.createElement('div')
      ${code}
      return div;
    });
  `;
}
Now say:
```js eval t=div
div.style.width = "100px";
div.style.height = "100px";
div.style.background = "red";
```
This produces:
div.style.width = "100px";
div.style.height = "100px";
div.style.background = "red";